
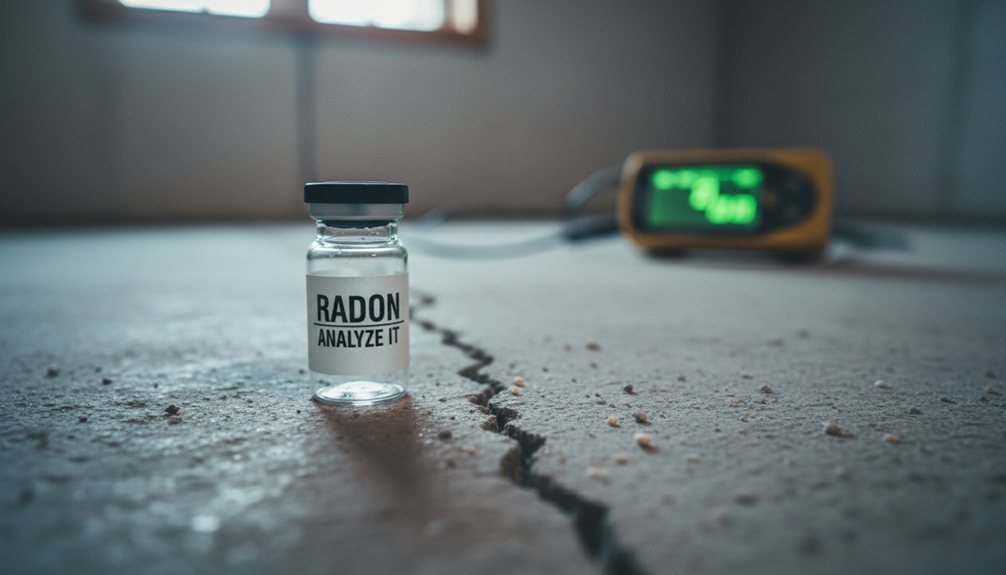
DIY radon kits work—when you follow the rules. You’ll get accurate results if you place your kit correctly (20+ inches from walls, away from windows). Keep doors and windows closed during testing. Maintain stable temps between 60–75°F. Long-term tests (90+ days) beat short ones. Calibrate yearly. Avoid high-moisture areas and direct sunlight. Skip spring testing during extreme weather swings. Pro testing eliminates guesswork, but DIY? Totally doable with discipline. Stick around to uncover what separates reliable results from costly mistakes.
Key Takeaways
- DIY radon kits can be accurate if environmental conditions are controlled, including stable temperature, proper placement, and closed windows during testing.
- Short-term tests (2–7 days) produce unreliable snapshots; long-term tests (90+ days) better capture seasonal variations and provide more representative results.
- Kit accuracy depends on correct placement on lowest livable levels, at least 20 inches from walls, away from doors and windows.
- Sensor drift and reduced accuracy occur without yearly calibration and proper storage in cool, dry conditions per manufacturer guidelines.
- Building ventilation and seasonal factors significantly impact readings; winter produces worst-case scenarios, while spring and fall offer more stable testing conditions.
Testing Method Variability
Seasonal variation affects your results big-time. Winter readings spike because building ventilation changes. Your home seals up tight. Summer? Radon levels typically drop. Test during winter for worst-case scenarios.
Building Ventilation Changes Everything
Your house’s ventilation directly impacts accuracy. Tight, sealed homes show higher readings. Drafty homes? Lower numbers appear. That’s why professionals test in specific conditions.
The Bottom Line
Choose consistent testing methods. Understand your home’s seasonal patterns. You’ll get reliable results!
Environmental Conditions During Testing
While you’re running your DIY radon test, here’s the critical truth: your environment’s got massive control over accuracy.
Temperature Swings Matter
Seasonal variations absolutely wreck your results. Winter cold and summer heat change how radon behaves in your home. You’ll get wildly different readings depending on when you test.
Humidity’s Hidden Power
Humidity impacts are sneaky but serious. High moisture levels interfere with your kit’s detection ability. Dry conditions? Better accuracy. Damp basements? Expect trouble.
Timing Is Everything
Test during stable seasons for best results. Spring and fall offer moderate conditions. Avoid extreme weather periods.
Real Talk
You control this factor completely. Close windows beforehand. Keep doors sealed. Maintain consistent temperatures. These actions dramatically improve your test accuracy and reliability.
Don’t skip this step!
Device Calibration and Maintenance
Your radon test kit’s accuracy depends entirely on proper upkeep. You’ll want to treat your equipment like a professional instrument—because it basically is!
Here’s what you absolutely need to do:
- Check your calibration schedule yearly without fail
- Monitor for sensor drift that happens over time
- Store your kit properly in cool, dry conditions
Think of sensor drift like your car slowly losing alignment. It happens invisibly!
You won’t notice it immediately. But gradually, your readings become unreliable.
Your manufacturer provides specific calibration guidelines—follow them religiously. They’re not suggestions!
Skipping maintenance is like ignoring tire pressure. Your test kit won’t work accurately.
Most kits need recalibration every 12-24 months. Don’t guess here.
Contact your kit’s manufacturer for exact requirements. Proper maintenance keeps your results trustworthy!
Placement and Positioning Errors
Even the best-maintained kit won’t help if you’ve placed it wrong!
Location Matters—A LOT
Your test kit’s position dramatically impacts results. You need to place it in your home’s lowest level. Basements work perfectly. Avoid placing it near doors or windows where airflow patterns can skew readings.
The Sensor Drift Problem
Don’t stick your detector in extreme temperatures. Heat and cold cause sensor drift. This throws off your measurements markedly. Keep it between 60-75°F for accuracy.
Smart Positioning Rules
Keep it away from:
- Fans and vents
- Direct sunlight
- High-traffic areas
- Kitchens and bathrooms
Position your kit at least 20 inches from walls. This captures genuine radon levels accurately. Bad placement equals bad results. You’re investing time and money—get it RIGHT!
Time Duration and Exposure Length

You’ve got to follow the manufacturer’s instructions precisely. Here’s what matters most:
- Short-term tests run 2-7 days and give you quick snapshots
- Long-term tests last 90 days or more for seasonal variations
- Consistency means leaving doors and windows closed during testing
Your test kit won’t work if you rush it. Radon levels fluctuate daily and seasonally. That’s why short-term results can be misleading.
Long-term testing captures the real depiction of your home’s radon exposure.
You’re basically giving radon enough time to show its true patterns.
Don’t cheat the clock. Your family’s safety depends on patience and accuracy here. Stick to the exact timeframe. Period.
Comparison With Professional Testing Standards
Long term monitoring reveals what one quick test can’t.
Pros track radon levels over months or years. They catch seasonal changes you’d miss.
Statistical uncertainty is real too.
Professional tests reduce measurement errors substantially. DIY kits have wider margins of error.
The Bottom Line
Professional testing costs more but delivers reliability.
Think of it as the difference between a smartphone calculator and a scientific instrument. Both work—one’s just incredibly more trustworthy for critical decisions like your family’s health.
Conclusion
DIY radon test kits can’t compete with certified pros. You’ll likely land 60-70% accuracy at best. Professional testing provides precise positioning, proper protocols, and proven performance. Your placement matters majorly—mistakes multiply measurement errors. Environmental elements (temperature, timing, technique) tremendously trouble results. Honestly? Hire professionals for peace of mind. Your home’s health is worth it!
